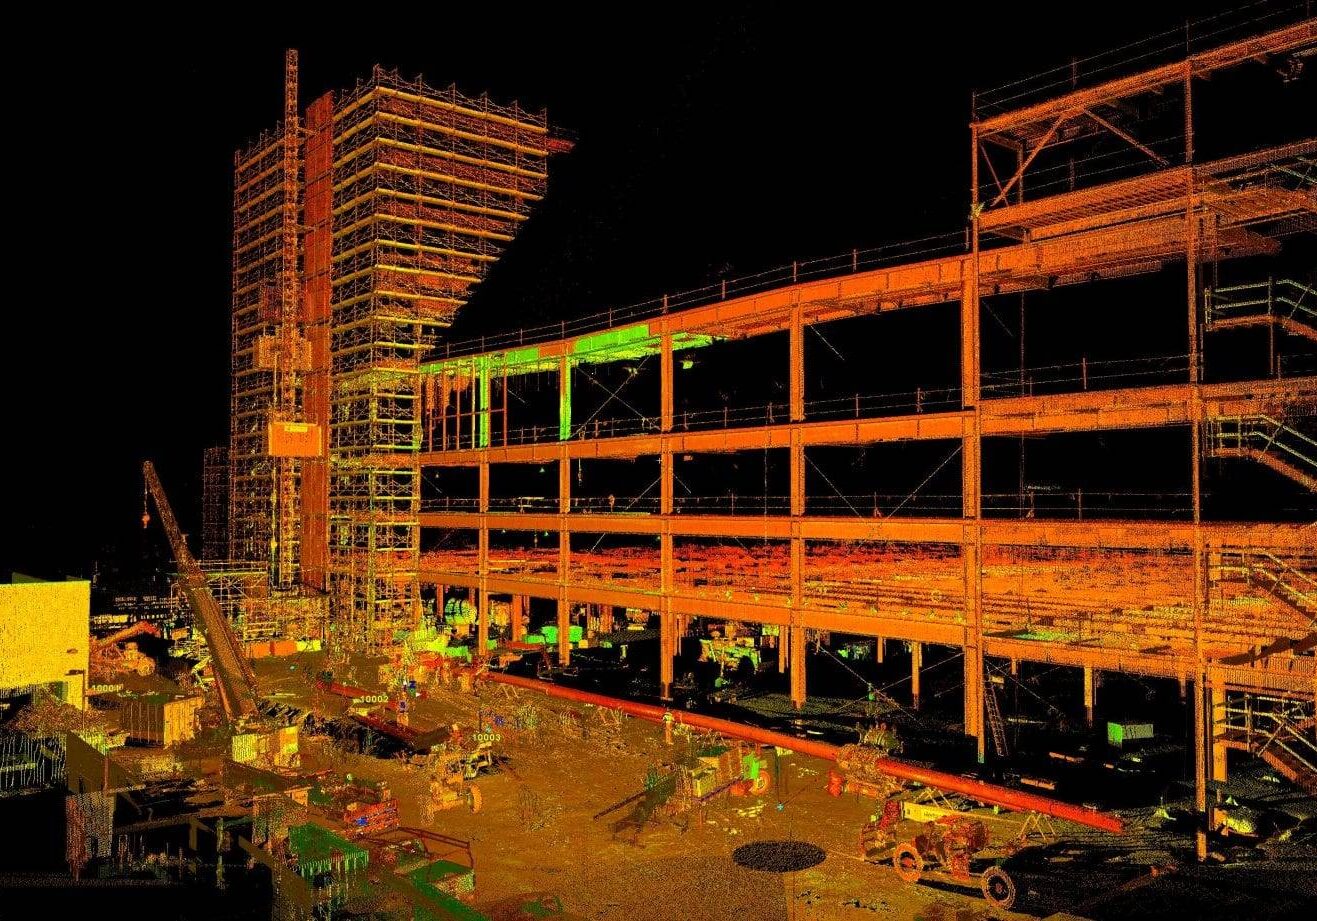
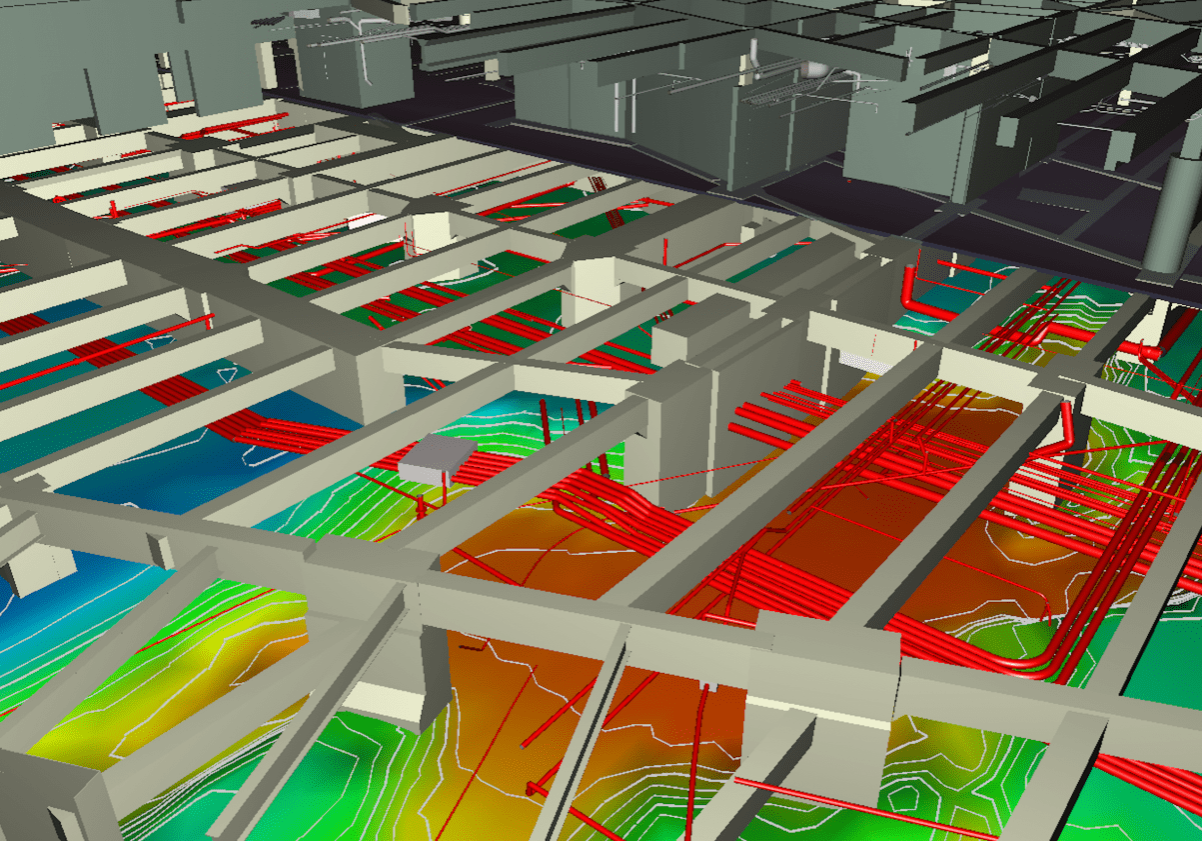
Do you know if your facility meets structural integrity standards before you invest in renovations or modifications? 3D scanning for manufacturing delivers accurate as-built models to assist in project planning and assessment.
Safe, fast and accurate 3D as-built models can be used to detect structural deficiencies and design solutions to reduce risk and liability on the front end of a building modification project.
Benefits of 3D structural assessments:
- Detect defects early - Detect deficiencies and variances before costs and risks increase by an order of magnitude as the project progresses.
- Accurate - Average tolerance is set at 4-6 mm (0.25 inches). Tighter tolerances including submillimeter accuracy are also possible depending on your needs.
- Safe - Data is collected at safe distances with non-intrusive/non-destructive LiDAR methodologies.
- No plant shutdown - Data collection does not normally require plant shutdown (with the caveat that data accuracy is reduced in high vibration environments).
- Fast - Field work is completed within days, saving time and money. We recently scanned a 1.5 million sq foot auto plant in 6 days.
- Rely on our experts - Our team of 3D scanning and modeling experts and registered surveyors has the experience to deliver engineering quality results.
- Flexible data formats - Deliverables in a wide variety of formats: Revit models, raw point clouds, 3D solid models, 3D AutoCAD, 2D AutoCAD, MicroStation, flythroughs and more.


